Save Your Precious Files Today!
In the digital age, our personal data is priceless. Photos, documents, music, work files – losing them can be devastating. That’s why regular backups are crucial, especially for Windows computers. But fear not, tech-wary friend! Backing up your data to an external hard drive is easier than you think. Follow these simple steps, and breathe a sigh of relief knowing your files are safe:
Gear Up:
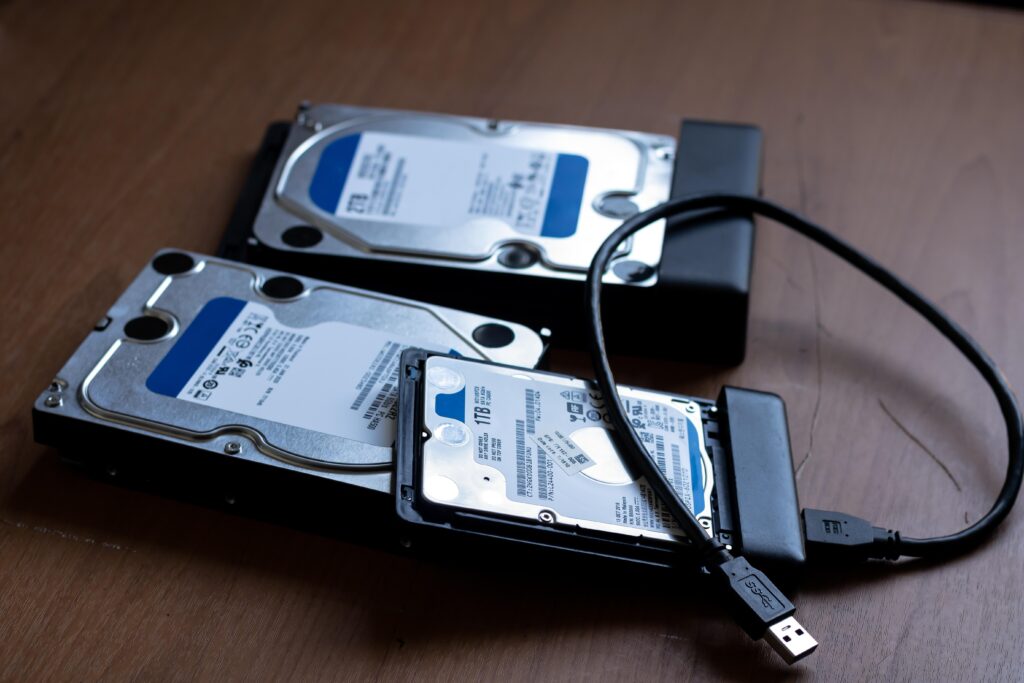
- External Hard Drive: Choose one with ample storage based on your data amount. Choose USB 3.1 for speed!
- Backup Software (Optional): Windows Backup & Restore or third-party options like EaseUS Todo Backup or Macrium Reflect offer automation and scheduling.
- Patience: Backups take time, so grab a cup of coffee (or tea, we don’t judge).
Step 1: Connect & Prepare:
- Connect your external hard drive to your PC via USB.
- Format the drive (if needed): Right-click the drive in File Explorer, choose “Format,” and select NTFS for compatibility.
- Decide what to back up: Consider personal folders like Documents, Pictures, Videos, Desktop, and any specific work folders.

Step 2: Choose Your Backup Method:
Method 1: Manual Drag & Drop:
- Open File Explorer and navigate to your chosen folders.
- Select the files and folders you want to back up.
- Drag and drop them onto the external hard drive icon in File Explorer.
- Pros: Simple and fast for small backups.
- Cons: Time-consuming for large data volumes, prone to manual errors.
Method 2: Windows Backup & Restore:
- Search for “Backup and Restore” in the Start menu and open it.
- Click “Set up backup” and choose the external drive as your backup location.
- Select the folders you want to back up and click “Next.”
- Choose a backup schedule (e.g., daily, weekly) and click “Save settings and start backup.”
- Pros: Automated backups, set it and forget it!
- Cons: Limited features compared to third-party software.
Method 3: Third-Party Backup Software:
- Install and launch your chosen software (e.g., EaseUS Todo Backup).
- Follow the software’s specific instructions to create a backup profile.
- Select the files and folders you want to back up and choose the external drive as the destination.
- Set a backup schedule and click “Start backup.”
- Pros: Powerful features like incremental backups, version control, and encryption.
- Cons: Requires purchasing software, might have a learning curve.
Bonus Tip:
- Double-check your backup: After the backup is complete, open the external drive and verify that all your files are there.
- Store your backup drive safely: Keep it in a different location from your computer, ideally fireproof and waterproof.
By following these steps and choosing the backup method that suits your needs, you can ensure your precious Windows data is always safe and sound. Remember, regular backups are your armor against data loss disasters. So, what are you waiting for? Start backing up today!
